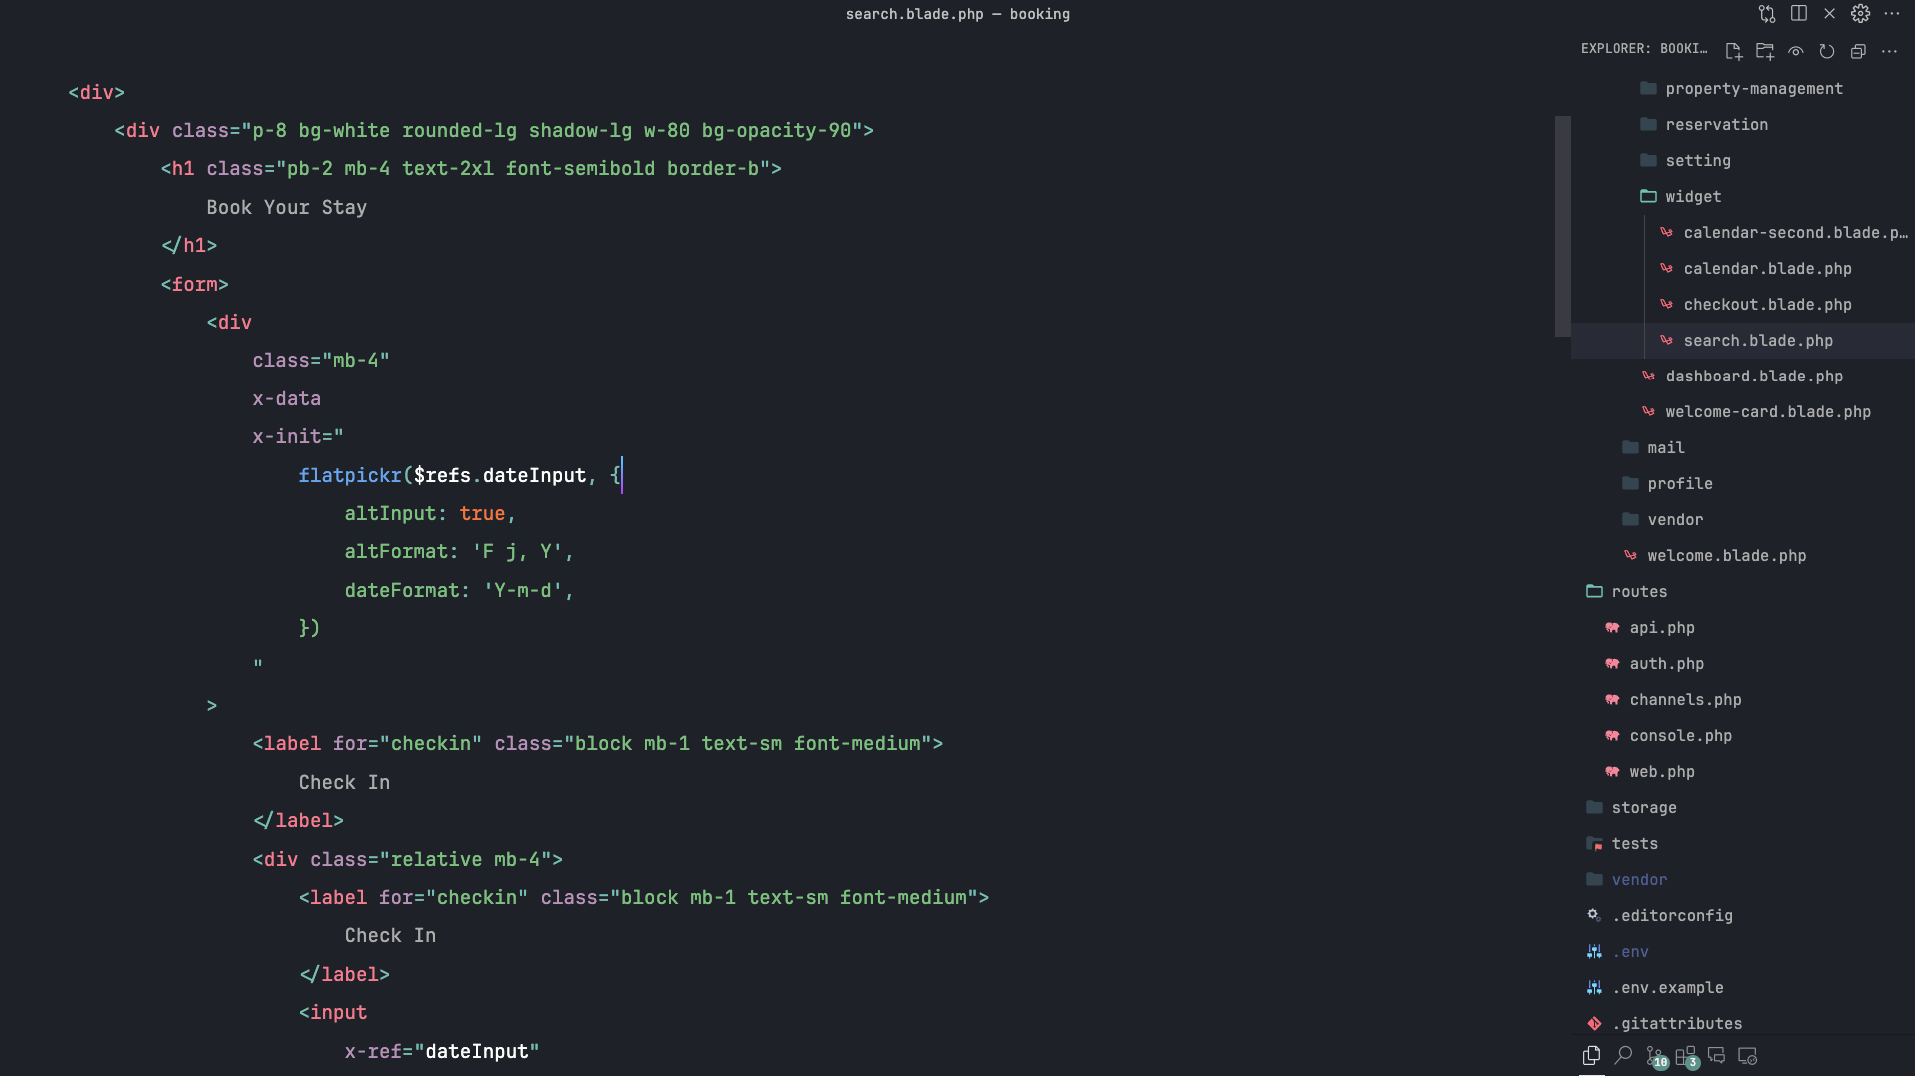
Formatting Your Laravel Blade Code the Best Way
Welcome to FreeCoderTeam's blog! Today, we're diving into a topic that's essential for maintaining clean, readable, and maintainable Blade templates in your Laravel projects. Proper code formatting not only enhances readability but also ensures consistency across your codebase. In this post, we'll show you how to format your Laravel Blade code using Prettier and a couple of handy plugins.
Why Format Blade Code?
Blade is Laravel's powerful, simple templating engine. However, as with any template language, the readability of your Blade templates can quickly degrade as your project grows. Consistent formatting helps:
- Improve Readability: Well-formatted code is easier to read and understand.
- Enhance Collaboration: Consistency makes it easier for teams to work together.
- Reduce Bugs: Clean code is less likely to contain hidden bugs.
Getting Started
To format your Blade templates, we'll use Prettier, a popular code formatter, along with the prettier-plugin-blade and prettier-plugin-tailwindcss plugins. Follow these steps to get started:
Step 1: Install Prettier and Plugins
First, you need to install Prettier and the required plugins. Run the following command in your project's root directory:
npm install --save-dev prettier-plugin-blade@^2 prettier prettier-plugin-tailwindcss
Step 2: Create a Prettier Configuration File
Next, create a .prettierrc file in the root of your project. This configuration file will tell Prettier how to format your Blade templates. Add the following content to your .prettierrc file:
{
  "plugins": ["prettier-plugin-blade", "prettier-plugin-tailwindcss"],
  "overrides": [
    {
      "files": [
        "*.blade.php"
      ],
      "options": {
        "parser": "blade"
      }
    }
  ]
}
This configuration does the following:
- Specifies the plugins
prettier-plugin-bladeandprettier-plugin-tailwindcssto be used by Prettier. - Sets up an override for files matching the
*.blade.phppattern, telling Prettier to use the Blade parser for these files.
Step 3: Format Your Blade Templates
With Prettier and the plugins installed and configured, you can now format your Blade templates. You can format a single file by running:
npx prettier --write path/to/your/file.blade.php
Or you can format all your Blade templates at once by running:
npx prettier --write "**/*.blade.php"
Step 4: Automate Formatting with Pre-commit Hooks (Optional)
To ensure that your code is always properly formatted, you can set up a pre-commit hook using a tool like Husky. This will automatically format your code before you commit it. To set this up, follow these steps:
- Install Husky:
npm install husky --save-dev
- Add a pre-commit hook to format your Blade templates:
npx husky add .husky/pre-commit "npx prettier --write '**/*.blade.php'"
Now, every time you commit your code, Husky will run Prettier to ensure your Blade templates are formatted correctly.
Conclusion
Properly formatting your Laravel Blade templates is crucial for maintaining a clean and readable codebase. By using Prettier along with prettier-plugin-blade and prettier-plugin-tailwindcss, you can automate and enforce consistent formatting across your project. Happy coding!
For more tips and tutorials, stay tuned to FreeCoderTeam's blog.
By following these steps, you can ensure that your Blade templates are always formatted correctly, improving both the readability and maintainability of your code. If you have any questions or run into any issues, feel free to reach out to us at FreeCoderTeam. Happy coding!


